

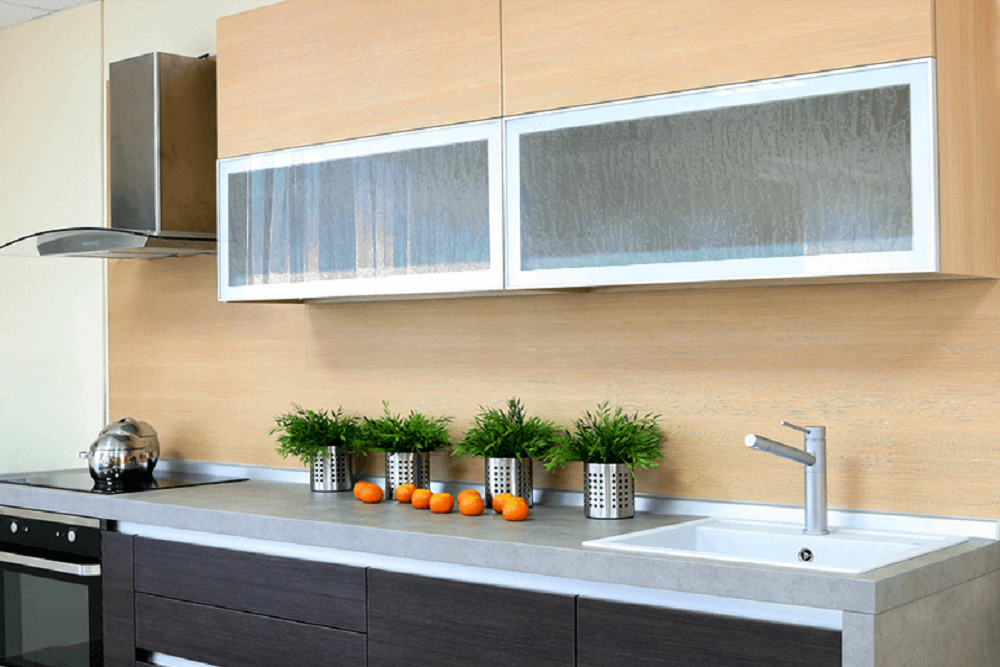
Glass doors are one of the most popular features found in new models and renovations. Over the years, people have experimented with different interior designs, styles, and features. Glass doors are one of them. It’s the perfect modern upgrade to the interior of the house. Other than revealing the inside of the house and viewing the outside world, glass doors work more brilliantly than we might’ve thought. Because they’re transparent by nature, they allow natural light to enter inside and regulate proper ventilation as well in every season.
Many people have incorporated the use of glass doors in different aspects of interior design. From the kitchen to the main entrance, glass doors have made their place in every part of the household.
Since they come in different shapes, sizes, mechanisms, and styles, when it comes to replacing your cabinet doors, you want to make sure you choose the glass door that fits your kitchen best. You want to be sure of the quality and resources you’re investing in is top-notch.
Types and designs to make glass panel doors
There are multiple types of glass panel cabinet, such as single, double, four, and six-panel frames. Depending on your cabinets, you will decide the number of frames you want to be designed.
A cabinet door can have a single panel or six panels. The door is not merely made of wood. It’s made up of wood and other types of materials, and in this case, glass panes.
A single panel cabinet door is flat; therefore, it’s also called the flat panel doors. The center panel is raised for the glass pane to fit perfectly.
The double panel door is a variation of the single panel door, except it has 2 independent adjacent panels on each side of the cabinet. The double panel cabinet doors are raised, which allows you to elevate the design with glass panes.
The four-panel frame cabinet is similar to the six-panel frame cabinet, except there are 4 separate flat or raised squares or rectangles in the door.
A six-panel frame cabinet is made up of 6 separate squares or rectangles fitted in the cabinet door. They can either be made into the door and have a wooden core or can be raised in the door.
Once you’ve decided the type of panel doors you want to upgrade to, you can move on with measurement
Making precise measurements

Making accurate measurements is necessary. To determine the exact size of the cabinet door, you will need to leave space for the hinges. Apart from that, making room between the doors is necessary as well to avoid them from stacking on top of each other. The vertical boards will cover the opening, and the horizontal boards will fit inside the cabinet. Make sure you use a precise and accurate measuring tape to cut equal pieces of wood.
Cutting the wooden cabinet doors

Once you’ve marked the lengths of your pieces, you will cut the pieces of your doors with a miter saw. The horizontal and vertical boards will be cut straightly with a miter saw. A Kreg jig will be used to drill holes in the ends of the horizontal boards to fix them inside the cabinets. Once you’ve cut all your pieces, use grit sandpaper to smooth out the edges of the boards.
By using a clamp, attach the vertical and horizontal boards together with 1-inch screws. Add another horizontal and vertical board to make a rectangle.
The horizontal pieces of the poplar hobby board will be longer than the horizontal boards you cut recently. Attach the rectangle you built above with the poplar rectangles through 3-inch wire brads.
Addition of Trim Molding on one side

To fit the trim molding, you need to cut it with a miter saw. At a 45-degree angle, you will cut the angles front to back. The flat side should be longer than the rounded side, and it should fit perfectly inside the rectangle. Use 1-inch wire brads to glue the boards together.
Add the glass based on required dimensions

Before you add the glass frame, add the hinges and cabinet handles by marking the door by drilling pocket holes. Attach the hinges and pull them accordingly. Use a glass-cutting tool to cut glass and apply glass adhesive around the wooden frames before adding the glass frame. Keep the glass pressed into its place for a while to make sure it’s stuck.
Fixing the molding on the other side to fix the glass
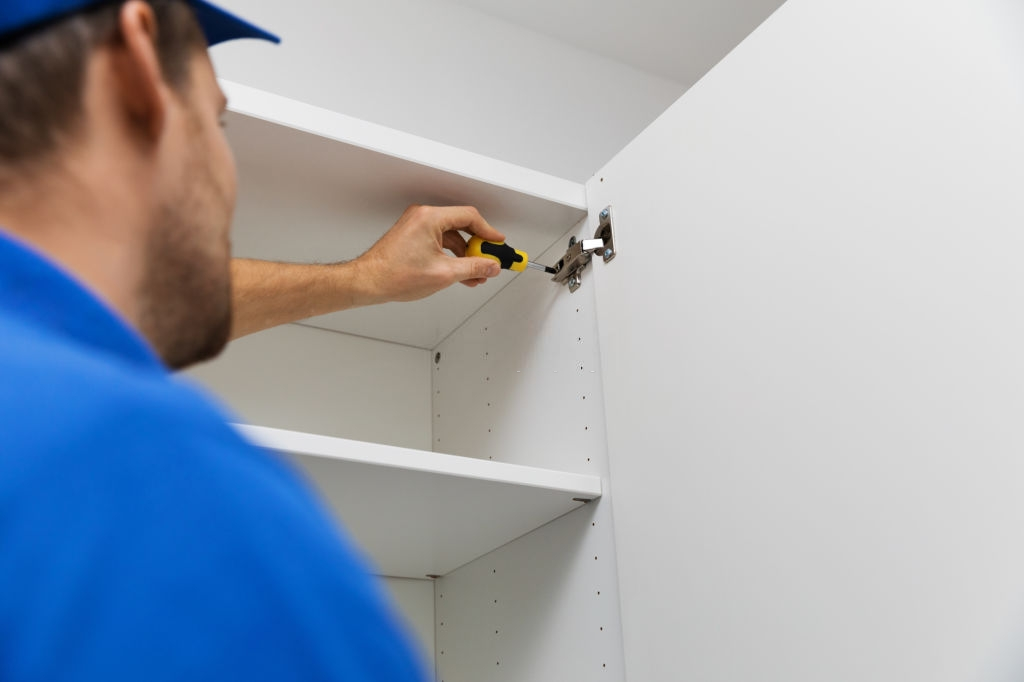
Attach the hinges in the cabinet frame and fix the molding to make sure it doesn’t stack on top of the cabinet interfering with the opening or closing mechanism. Keep all boards leveled.
Paint it

Use primer plus paint to add colors to the wooden frames. Before applying another coat, wait for the previous coat to dry completely.


